
With full-site editing released in WordPress 5.9, it's becoming impossible to ignore Gutenberg, the block editor. I've been avoiding it, as I think creating WordPress sites in plain PHP works great. One of the pain points that I've had in the past learning to write custom blocks is that it takes me much longer to create a custom block than to just style a custom shortcode. However, it is hard to beat that slick Gutenberg UI for users.
I spent some time recently digging through the ever-changing WordPress codex, learning as much as I could about the system. Once thing that always bugged me was understanding how the code worked, and how the content of the blocks were saved to the database. I knew that there was an edit and a save function, but it never really made much sense to me. I was used to just using PHP to echo out my content, and styling it with CSS. If I wanted to change the way something looked, I could easily change it in code.
After doing some experimenting, I learned a lot, and I think that I can provide a concise and easy way of understanding what you're actually developing when you are creating a custom block.
Separation of Two Presentations
It's kind of strange to think about, but you really have two different presentations. One is for the block editor itself, and one is for what the readers will see on the front-end of the WordPress site.
At first thought when reading that sentence you would probably think that they would be the same, since after all we are working with a WYSIWYG editor, right?
The main difference to remember here is that the editor will need to use special components that allow the user to interact and change content within the block. On the front-end, we're just needing to display the saved data in a stylish way. It should look very similar in the editor and on the front-end.
When I say "front-end", I am specifically referring to what the reader on the site would see.
A Simple Example
I've created a simple block using the Create Block package provided by WordPress. Let's take a look at the edit function:
import { useBlockProps } from '@wordpress/block-editor';
import './editor.scss';

export default function Edit() {
	return (
		<p {...useBlockProps()}>
			This is the editor text!
		</p>
	);
}
And we can take a look at it in the editor by adding the block to a new post:
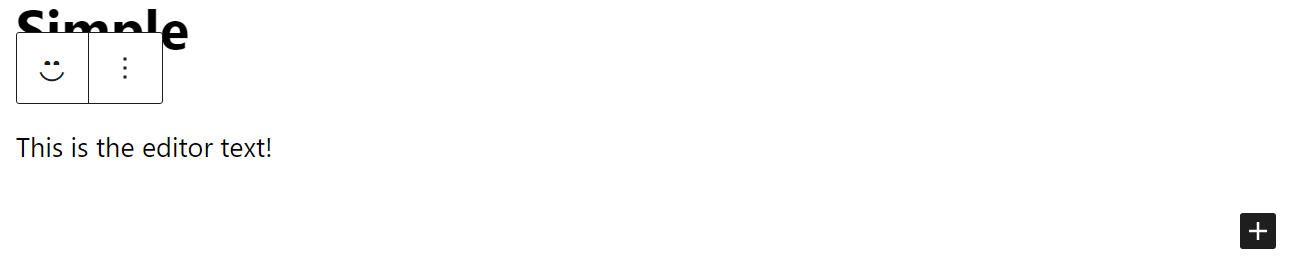
This is pretty straightforward. The edit function is called when the example block is added to the editor, and renders out a paragraph with some text. But what happens when we publish it? Here's what we have in our save function:
import { useBlockProps } from '@wordpress/block-editor';

export default function Save() {
	return (
		<p {...useBlockProps.save()}>
			This is the saved text!
		</p>
	);
}
And here is what is saved in the database:
<!-- wp:create-block/simple -->
<p class="wp-block-create-block-simple">This is the saved text!</p>
<!-- /wp:create-block/simple -->
Let's unpack a couple of things here. The save function renders out the HTML that is actually saved to the database. The comment that is at the beginning and end of the content notes the block that created this content. This corresponds to the name of the block that you specify within your block.json file. Take a look at the name property, it matches what is saved in the database.
{
	"$schema": "https://schemas.wp.org/trunk/block.json",
	"apiVersion": 2,
	"name": "create-block/simple",
  ...
Since the block content is saved to the database, this means that any changes to your block code will not affect existing saved blocks. That content would have to be opened in the editor, and re-published.
Saving Content Data with Attributes
So you have your edit and save functions created, but you want to allow the user to actually input something. How is this data actually translated from the edit function over to the save function, and then actually persisted in the database? If we are making editable content, let's say allowing the user to input the text in the paragraph tag, how will that be used in the editor when the user opens up saved content and wants to change it?
This is where attributes come in.
It's an odd name in my opinion, but the attributes are how we describe the metadata and content associated with an individual block.
Attributes are defined within our index.js file (if you're using the code generated using the WordPress generator). This is an object that is passed in to the registerBlockType function.
import {registerBlockType} from '@wordpress/blocks';
import './style.scss';
import Edit from './edit';
import Save from './save';

registerBlockType('create-block/simple', {
	edit: Edit,
	save: Save,
	attributes: {}
});
For this example, we will do a simple attribute. We will dive deeper into different ways of storing data within attributes in a later post. Let's add a text property, with a type of string to our attributes.
attributes: {
  text: {
    type: 'string'
  }
}
Now that we have our attribute, let's change the edit function to allow the user to input some text. We will use the TextControl component to do so. We will also destructure a couple of items from the properties that are passed into the edit function. We will need the attributes and the setAttributes.
The attributes gives us access to the content that is currenly saved to the database. The setAttributes function allows us to update that data.
import { useBlockProps } from '@wordpress/block-editor';
import { TextControl } from '@wordpress/components';
import './editor.scss';

export default function Edit({attributes, setAttributes}) {
	return (
		<p {...useBlockProps()}>
			<TextControl
				label="Write your text"
				value={attributes.text}
				onChange={value => setAttributes({text: value})}/>
		</p>
	);
}
Save your work, and update your post. I've entered "hello world" into my newly updated block.
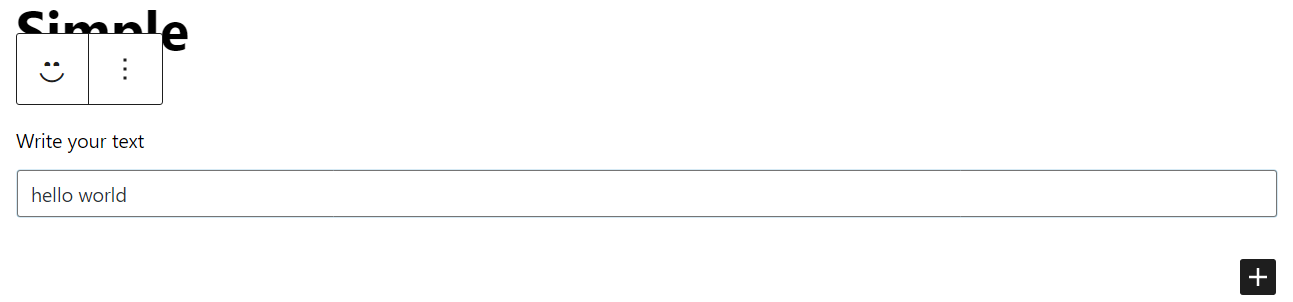
Let's publish the work and check what's in the database. Here's where things get strange. We already stated that the save function is responsible for saving the content to the database, and the edit function is for the presentation in the editor. You'd expect the database to look exactly the same, wouldn't you? You'd be wrong.
<!-- wp:create-block/simple {"text":"hello world"} -->
<p class="wp-block-create-block-simple">This is the saved text!</p>
<!-- /wp:create-block/simple -->
The content within the paragraph tag is still the same, as you'd expect. However, you can now see a JSON object that represents the attributes of this block.
If you reload the editor in your browser, you'll see that your text remains. It works by pulling this text off of the attributes object. Pretty cool, huh?
Displaying Attribute Data on the Front-End
Let's revisit our save function and update it so that it will now display to readers the text that we allowed our editor to add to it.
All we need to do, is destructure the attributes from the parameter that is passed by WordPress into the save function. Then, we can simply output the text attribute into the paragraph.
import { useBlockProps } from '@wordpress/block-editor';

export default function Save({attributes}) {
	return (
		<p {...useBlockProps.save()}>
			{attributes.text}
		</p>
	);
}
And here is how it persists in the database after it is re-published:
<!-- wp:create-block/simple {"text":"hello world"} -->
<p class="wp-block-create-block-simple">hello world</p>
<!-- /wp:create-block/simple -->
As you can see, the attribute still exists within the attribute object in the initial comment, so that the editor can easily fetch it. The same text now also exists on the paragraph tag, allowing the front-end to render the text properly.
That's it! That's the basics of using attributes within a custom Gutenberg block!